-
Before You Start: The Old Playbook Is Gone
-
Step 1: Read Stored Codes Plus Freeze-Frame Data
-
Step 2: Inspect for Exhaust and Intake Leaks
-
Step 3: Check the Wiring and Connector Before Judging the Sensor
- Step 4: Check What the Engine Is Feeding Into the Exhaust
-
Step 5: Test the Sensor's Heater and Signal Response
-
Step 6: Replace the Sensor and Do the Logical Related Work
-
Final Notes: What Actually Causes an O2 Sensor to Go Bad
You're asking “what causes an O2 sensor to go bad?” That's the right question. The wrong answer is: “it's old, just replace it.” In my role coordinating aftermarket parts for repair shops, I've handled over 200 urgent OBD-II parts orders in five years, including same-day rush orders for shops with a customer waiting. I'd say half of those didn't actually need a sensor. They needed the thing that killed the sensor.
This checklist is for shop owners, used-car managers, or serious DIYers who get a P0135, P0138, or “O2 sensor slow response” code and don't want to see the same code in three weeks. I'm going to give you six checks, in order. Do them before ordering parts.
Before You Start: The Old Playbook Is Gone
What was best practice in 2020 may not apply in 2025. O2 sensors used to be treated as a 100,000-mile maintenance item. Now they're exposed to harder thermal cycles, more ethanol-rich fuel, and engines that run leaner to meet economy targets. The fundamentals haven't changed—diagnose first, replace second—but the execution has.
I'm not an ECU calibration engineer, so I can't speak to the internal logic of every OEM strategy. What I can tell you from the parts side is simple: if you don't know why the old sensor died, the new one may die the same way.
Step 1: Read Stored Codes Plus Freeze-Frame Data
Don't clear the code and hope. Pull the full code, freeze-frame data, and live fuel trim numbers. The code tells you which sensor. Freeze-frame tells you the engine speed, coolant temp, and load conditions when the trouble was recorded.
If your scanner shows long-term fuel trim at +18% while the O2 sensor is stuck at 450 mV, you have a fuel trim problem, not a sensor problem. A new sensor may report “correctly,” but the unmetered air or weak fuel pressure is still there.
Checkpoint: If the freeze-frame doesn't match the failure you see, don't assume the sensor is the culprit.
Step 2: Inspect for Exhaust and Intake Leaks
Exhaust leaks are the silent O2 sensor killers. Air entering ahead of the sensor dilutes the exhaust stream and makes the sensor read lean. The ECM richens the mixture, and that short-term fix can eventually poison the sensor. A smoke test or exhaust back-pressure test catches this in ten minutes.
Intake vacuum leaks cause the same symptom through a different path: more air, leaner mixture, higher fuel trim. A worn intake gasket or a cracked PCV hose can make a good sensor look bad.
Step 3: Check the Wiring and Connector Before Judging the Sensor
This is the one people skip. I still kick myself for not inspecting the pigtail on a 2018 SUV. The harness had rubbed against the transmission bell housing; after heat soaked in, the heater circuit opened. I replaced the sensor, the customer came back, and the new sensor was already damaged. The harness had to be fixed first.
Look for:
- Melted or brittle insulation near the exhaust or manifold shield
- Corrosion, bent terminals, or pushed-out pins in the connector
- Rodent damage—especially if the car has been parked outside for a while
- A grommet that wasn't re-seated after previous repairs
- Evidence of aftermarket alarm or trailer wiring that may have been spliced into the harness
Use a back-probe or a break-out harness to test the sensor wiring under load. A connector that tests okay with no tension can fail once it gets hot and vibrates.
Step 4: Check What the Engine Is Feeding Into the Exhaust
Ignition Misfires and Raw Fuel
A weak spark plug sends raw fuel into the exhaust. The converter then burns it, creating heat, and an unburned fuel spike can overload a sensor fast. If the car has a misfire code, check spark, compression, and fuel delivery first.
For many common engines, an NGK spark plug 4095 is the part number I'd look up for replacement. The key is using the correct plug for that engine, with the correct gap—not assuming every misfire is a bad sensor.
Oil and Coolant Contamination
Oil burning coats the sensor element with ash. Coolant burning usually comes from a head gasket or intake gasket leak; it doesn't just trip a code, it slowly kills the sensor. Low coolant, white steam on startup, or oil that smells like coolant means you have a bigger repair to do before a new sensor will last.
Checkpoint: If the old sensor is covered in black, wet soot vs. a white, crusty deposit, the failure story is completely different. Save the old part and look at it.
Step 5: Test the Sensor's Heater and Signal Response
If there are no upstream issues, now test the sensor itself. A faulty heater circuit is the most common failure mode on modern sensors.
With a multimeter, check resistance across the heater pins. It's usually only a few ohms at room temperature. Then watch the voltage signal while the car idles: a narrowband upstream sensor should switch between 0.1V and 0.9V faster than you can count. If it's lazy, flat, or stuck, the sensor is genuinely bad.
Also inspect the connector terminals for bent pins. A “bad sensor” is sometimes just a damaged terminal that only connects intermittently.
Step 6: Replace the Sensor and Do the Logical Related Work
Once you're confident, use a sensor that matches the OE connector and wiring protocol. After replacement, clear the code and complete a drive cycle. That's the only way to confirm the fix.
But if the car is already on the lift, don't ignore the parts that can cause a comeback. This is where I see the “just the sensor” mindset lead to a second appointment:
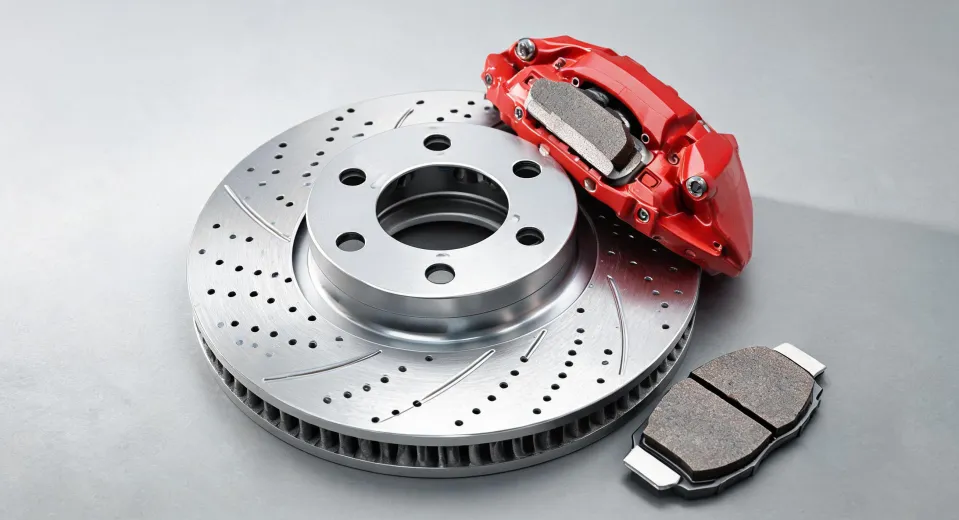
- Brake components: If the complaint includes noise, pull the caliper slides. I get a lot of requests for a 'Centric GCX rotors review' from techs who want a quiet, coated rotor; but no rotor fixes a seized caliper. A Centric master cylinder may be the right call if the pedal is spongy after a proper bleed—but that's a separate diagnosis from the O2 sensor.
- Ignition parts: If plugs are due, change them now. The correct plug for the application—an NGK spark plug 4095 for certain engines—will keep the tune clean and reduce the chance of another sensor failure.
- Wheel hubs: An ABS code or bearing noise on the same visit? An SKF wheel hub assembly is a common recommendation if the bearing is loose or the tone ring is damaged. It's not O2-related, but it's smarter to do while the car is already opened up.
Final Notes: What Actually Causes an O2 Sensor to Go Bad
Sometimes the sensor just ages out. Heat cycling, 100k miles, and normal wear happen. But if I had to rank the root causes I see in parts orders:
- Age and thermal stress
- Exhaust or intake leaks
- Ignition misfire dumping raw fuel
- Oil or coolant contamination
- Wiring and connector damage
- Counterfeit or low-quality replacement sensor
As of early 2025, that list still matches the failures I see. The technology has changed since the old heated/unheated days, but the root-cause discipline hasn't.
Dodged a bullet last month when a shop called asking for a second sensor under warranty. I asked them to read live fuel trim first. Turned out the intake manifold gasket was leaking. They fixed the gasket, kept the first sensor, and the code never came back. That's the whole point of a checklist: find the cause, not just the code.